Pumpkin Carving, the Knife Shop Way
A simple, safer method that puts sharpness first and makes it easier for pumpkins to cooperate.

TL;DR
Sharp tools, thinned walls, small saw strokes. Prep beats force.
Step 1: Pick a pumpkin worth carving
- Firm shell. No soft spots.
- Flat bottom so it doesn’t wobble.
- Smooth “face” with fewer deep grooves.
Step 2: Set up for control
- Dry hands. Bright light. Stable cutting surface.
- Kids scoop and decorate. Adults do the cutting.
- LED lights instead of flame when you can.
Step 3: Tool prep (knife shop style)
- Keyhole or drywall saw for openings because they're flexible, serrated, and less likely to bind.
- Pumpkin saw (the little serrated kind) for detail because they can make short, gentle strokes.
- Paring or boning knife just for trimming, not prying.
- Scoop with a big metal spoon or an ice cream scoop.
- Etching designs? Try linoleum cutters or clay loop tools to shave the skin.
Step 4: Make the smart access cut
- Cut a bottom or back panel instead of the top. It's easier for lighting and a stronger shape.
- If you do a top lid, angle the cut inward so it doesn’t fall through. Add a vent hole if you’re using candles.
Step 5: Hollow and thin (the pro move)
- Scoop thoroughly.
- Thin the wall where you’ll carve to ½–¾ inch. Less force. Fewer cracks. Brighter glow.
Step 6: Transfer the design
- Tape on a stencil and poke the outline with a pin.
- Dust with a bit of flour so the pattern pops, then brush it off later.
- Or sketch with a dry-erase marker and clean up edges with rubbing alcohol.
Step 7: Carve with control
- Start with the details first, then move to bigger openings.
- Saw, don’t pry. Let the teeth do the work.
- Angle your blade slightly inward for cleaner fits.
- For perfect shapes with kids: press metal cookie cutters through a thinned wall using a rubber mallet.
- If something cracks, pin it back together with a toothpick “dowel.”
Step 8: Light it up and keep it fresh
- LED puck lights for bright, heat-free glow.
- To slow mold: mist the inside with a light bleach mix (1 Tbsp per quart of water) and air-dry.
- Petroleum jelly on the edges helps slow drying (skip if using flame).
- Shriveled pumpkin? Soak in cool water for a couple hours, then dry well.
Quick safety notes
- Cut away from your hand.
- Never force a chef’s knife through the shell.
- Keep everything dry.
- Scoop and decoration is for the younger kids. Save cutting for the older ones.
FAQ
Can I use kitchen knives?
For trimming, yes. For sawing through the shell, best not. The small serrated tools are typically safer and cleaner.
Do I really need to thin the wall?
Yes. It’s the easiest way to make carving easier, cleaner, and brighter.
When should I carve?
1–2 days before display keeps it fresh and firm.
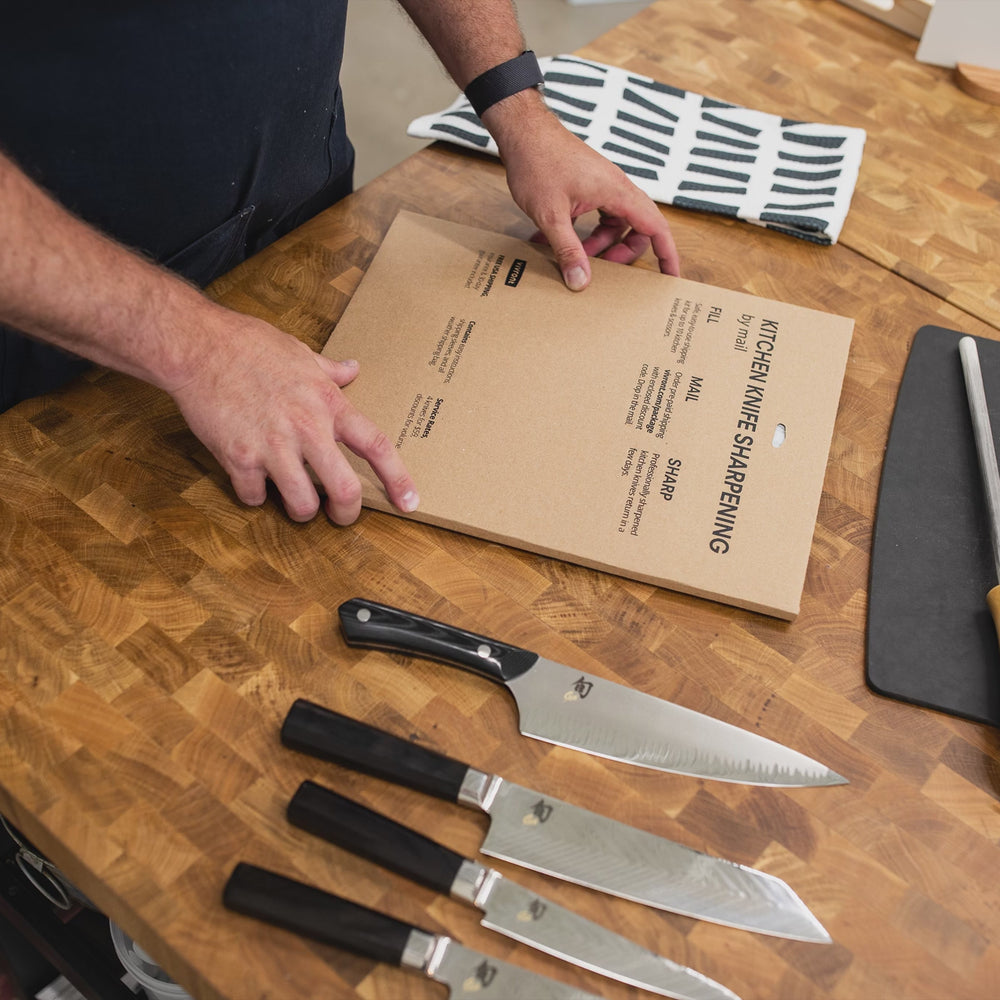
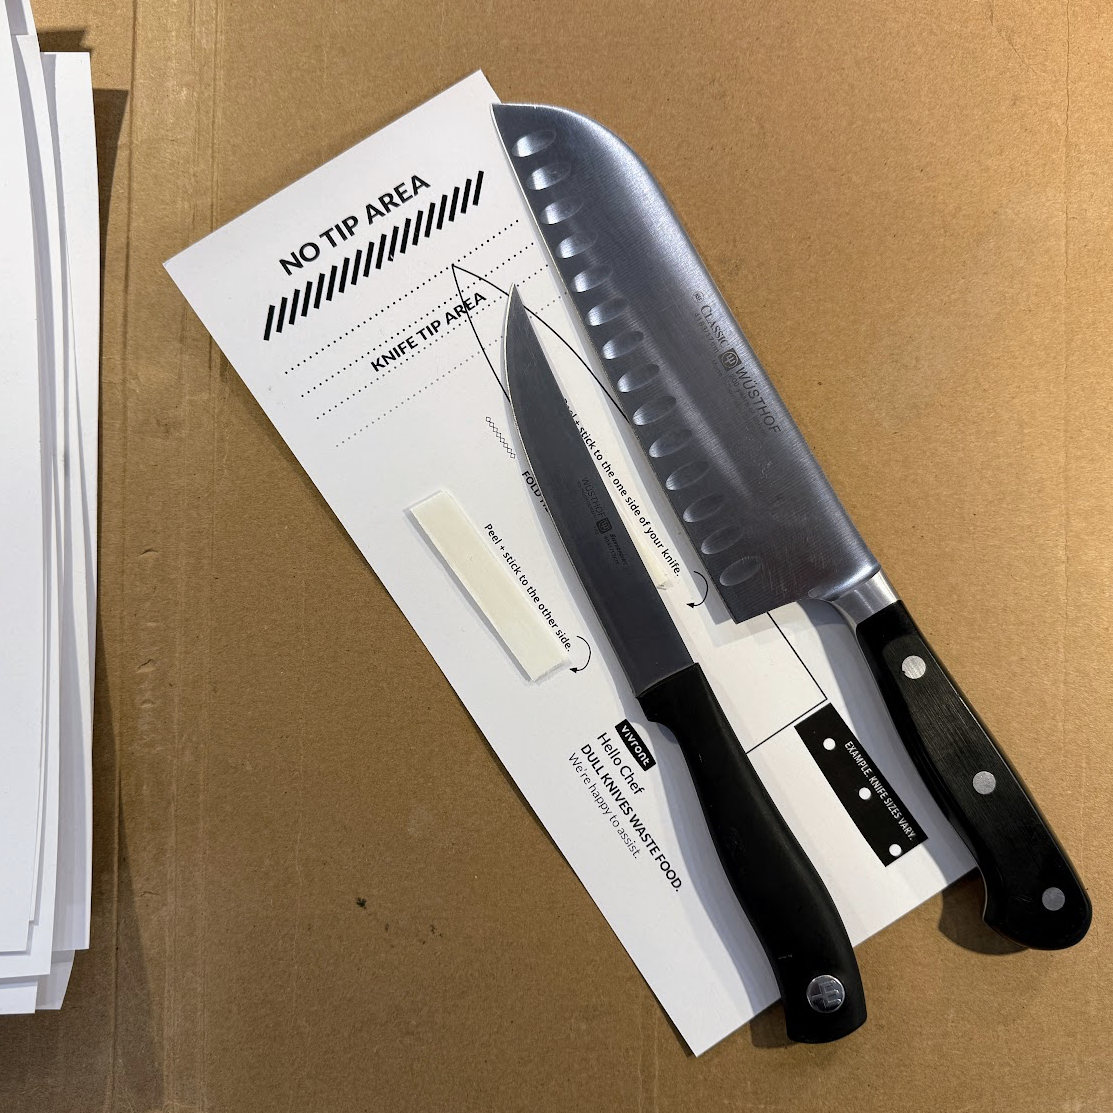
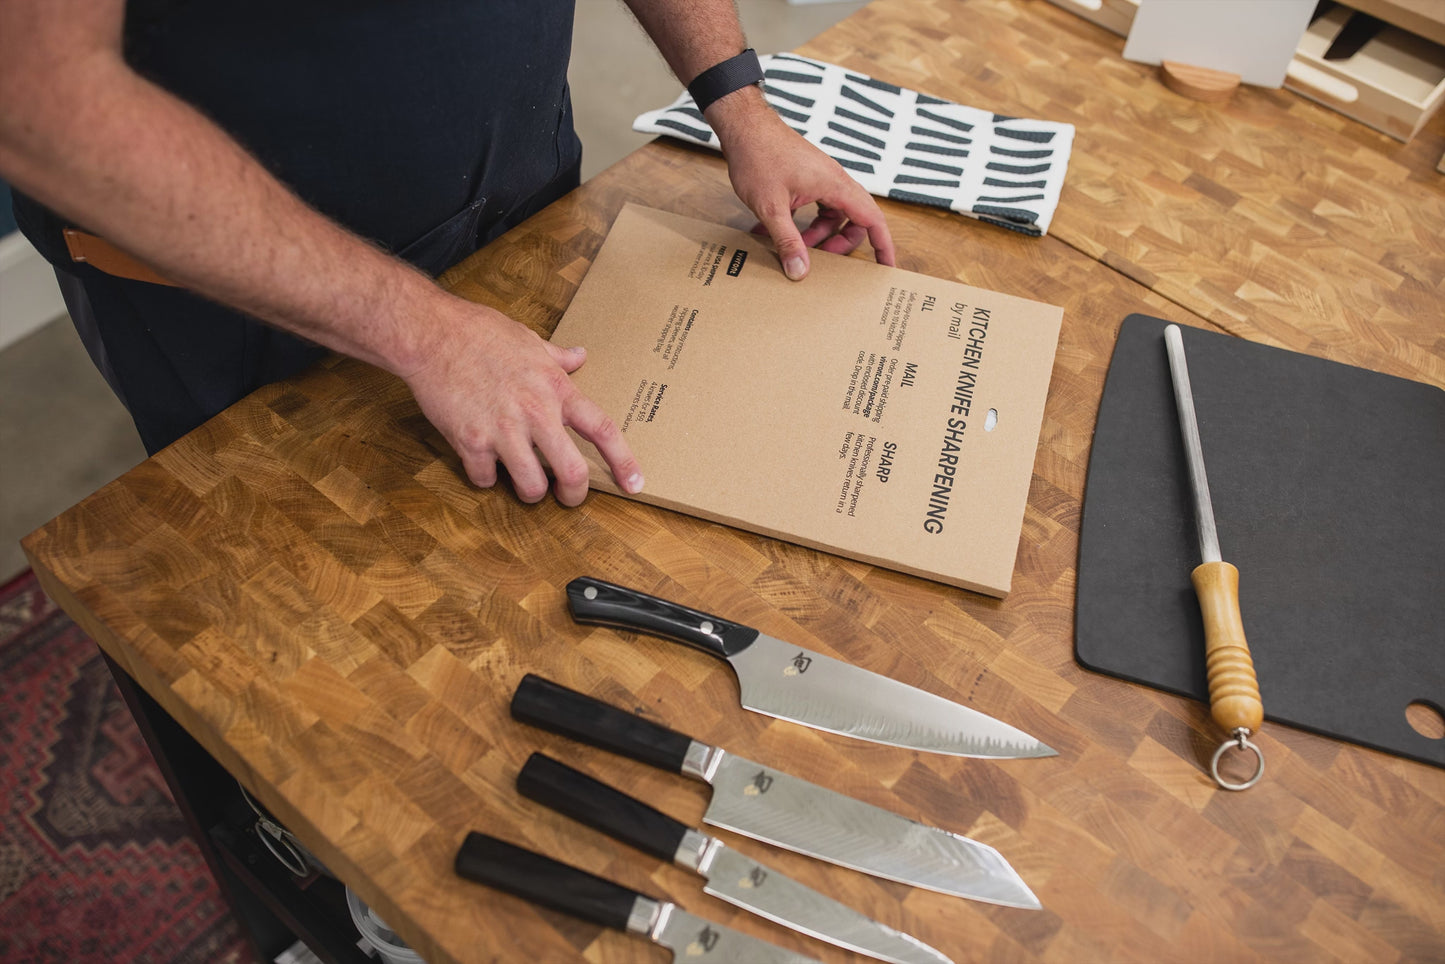
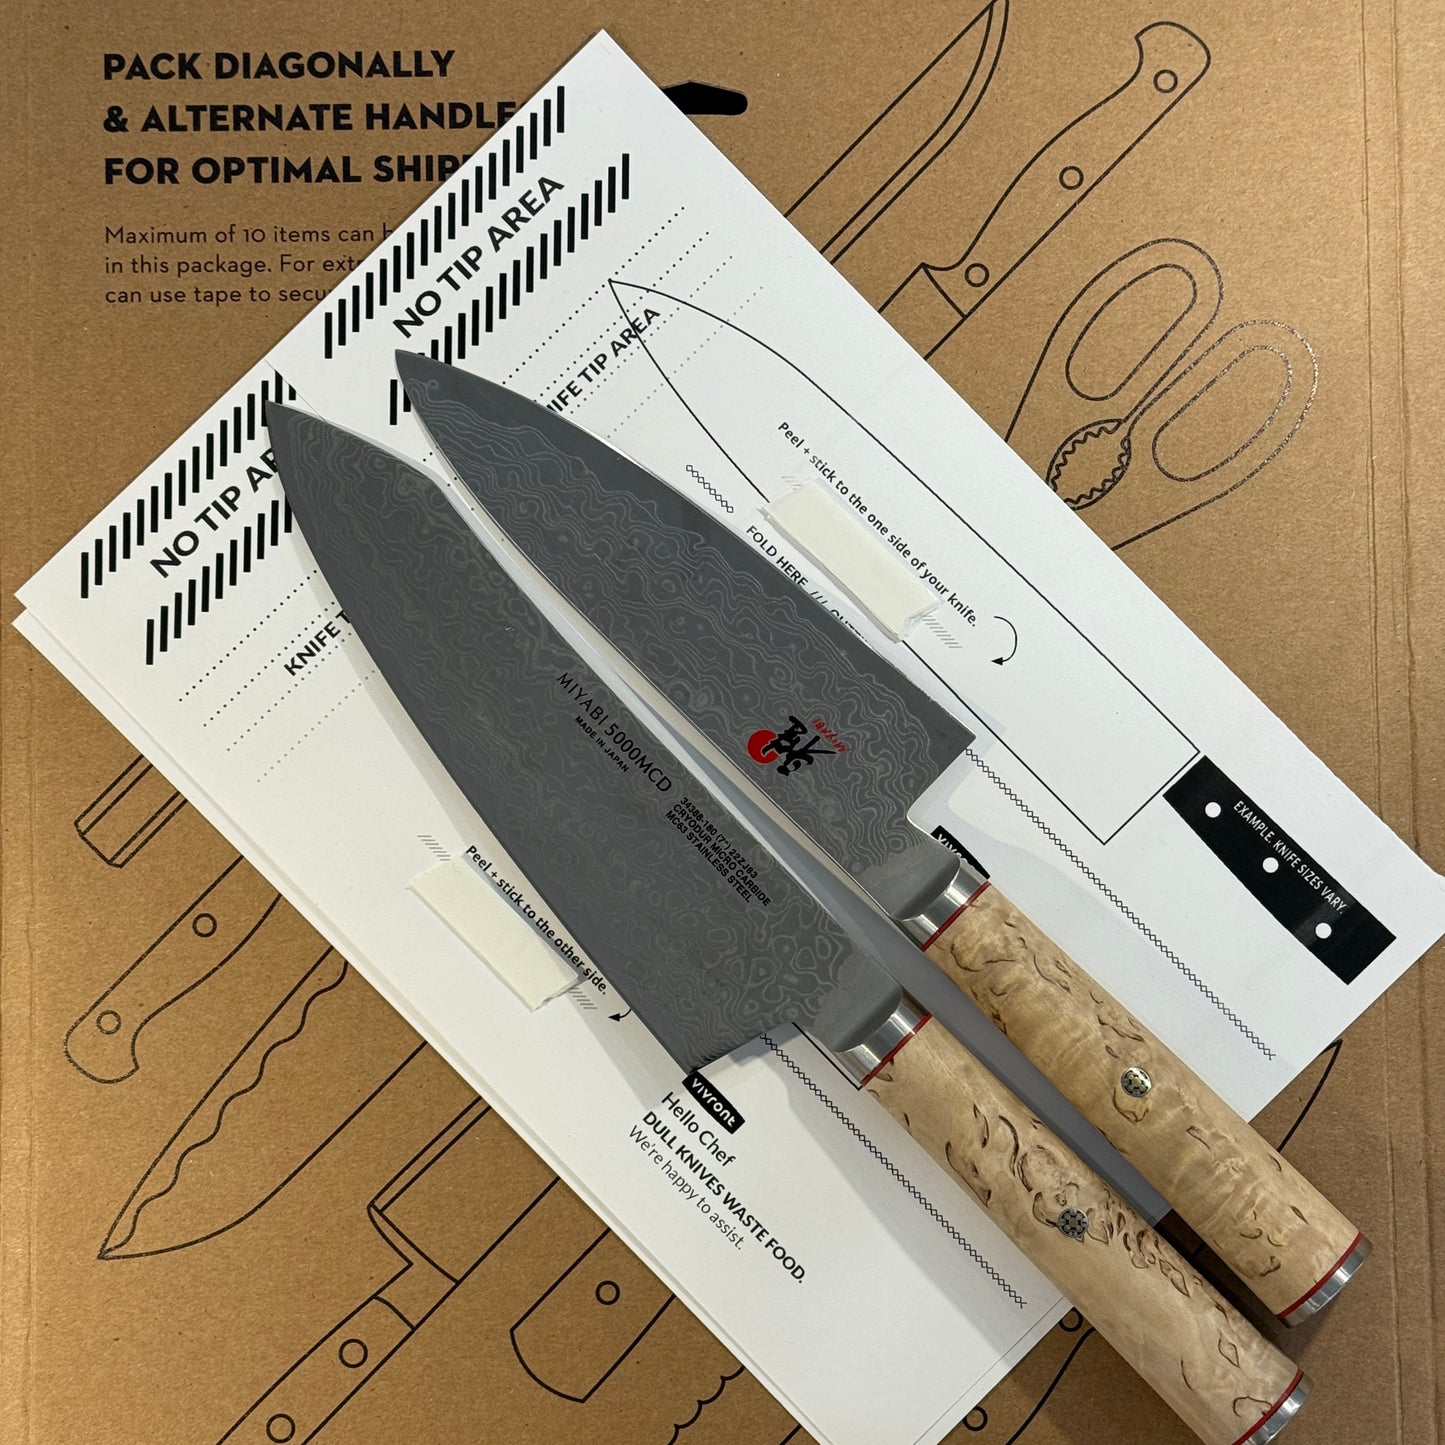
Want a hands-on tune-up?
Bring your kitchen knives to Vivront and we’ll get them truly sharp before Halloween. Or ship them via Sharpow.com kits.